
TechGuruindia
Member
As the school year draws to a close, it’s the perfect time to review the progress we’ve made and celebrate the learning journey that our students have embarked upon. With the rapid advancement of edtech tools, we now have a myriad of options to make this process even more engaging and enjoyable.
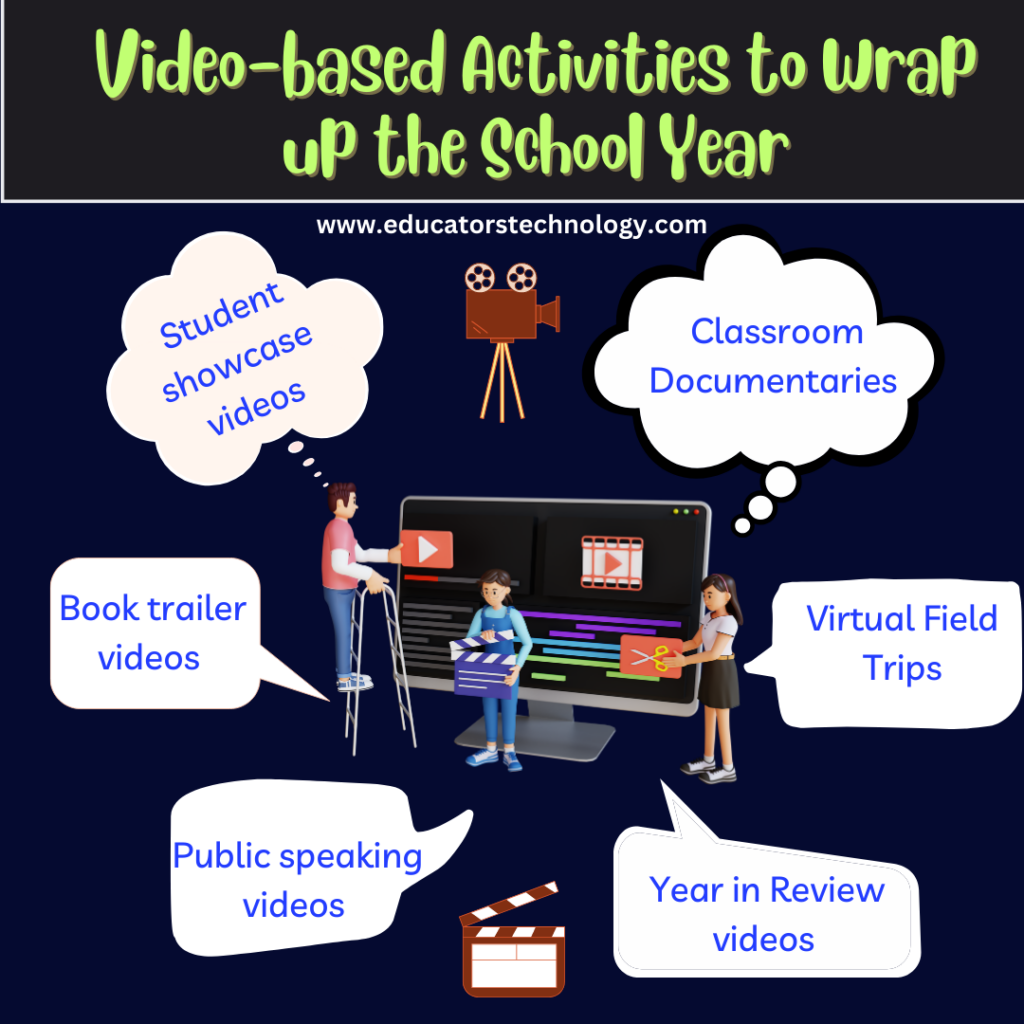
The following guide is designed to share with fellow educators and teachers a set of video-based activities for end of school year.
Having spent significant time reviewing and implementing various edtech tools, I’ve handpicked some of the best resources that can aid you in carrying out these activities. These tools not only enhance the learning experience but also simplify the process, making edtech an ally rather than a hurdle.
As a former classroom teacher for English as a Foreign Language (EFL) students, I have tried and tested many of these activities myself. They have always been met with anticipation and excitement by my students.
These activities promote various skills including language learning, critical thinking, problem solving, communication, teamwork, creative thinking, digital literacy, and many more.
Check out our for more activities and materials.
Whether you’re wrapping up a challenging academic year, or looking for a fresh take on end-of-year activities, this guide aims to inspire and equip you with practical ideas to finish the school year on a high note.
Creating a “Year in Review” video can be a wonderful way to encapsulate memories from the academic year and celebrate the collective journey of learning and growth. Here’s a simple step-by-step guide on how you can create a compelling “Year in Review” video:

Keep in mind that the “Year in Review” video is meant to be a celebration of all the hard work and fun times from the year, so keep it positive, uplifting, and inclusive of all students.
A “Student Showcase” is a fantastic way for students to exhibit their unique talents, hobbies, or newfound knowledge from the school year. Here’s a guide on how to organize a successful student showcase video project:

This activity not only provides students an opportunity to showcase their skills but also enhances their digital literacy and boosts their confidence. Plus, it offers a unique window for peers and teachers into what interests and inspires each student.
Virtual field trips are an exciting way to explore museums, zoos, or historical sites from the comfort of the classroom or home. They offer a unique, immersive learning experience without geographical limitations. Here’s how you can plan a successful virtual field trip:

Creating a stop motion animation can be a fantastic hands-on project for students, fostering their creativity and storytelling skills. Here’s how you can guide them through the process:

Creating a classroom documentary can be a meaningful project that allows students to reflect on their experiences throughout the school year, fostering collaborative and technical skills. Here’s a step-by-step guide on how you can organize this project:

Creating public speaking videos is an excellent way to encourage students to express their thoughts confidently and coherently while enhancing their presentation skills. Here’s how you can guide your students through this activity:

Creating a book trailer can be an engaging activity that encourages students to think creatively about literature and develop their storytelling skills. Here’s a step-by-step guide on how to guide your students in this project:

And there you have it, ten vibrant and engaging video activities to bring a close to your school year. These activities not only serve as a creative outlet but also encompass skills such as collaboration, critical thinking, public speaking, and tech-savviness, thus allowing students to express their learning in a fun and meaningful way.
Remember, the goal isn’t just to fill time until the last bell rings; it’s to create lasting memories and celebrate the journey of learning and growth that’s taken place throughout the year. We hope these video projects serve as both a valuable learning tool and a treasured keepsake from this school year.
The post appeared first on .
The following guide is designed to share with fellow educators and teachers a set of video-based activities for end of school year.
Having spent significant time reviewing and implementing various edtech tools, I’ve handpicked some of the best resources that can aid you in carrying out these activities. These tools not only enhance the learning experience but also simplify the process, making edtech an ally rather than a hurdle.
As a former classroom teacher for English as a Foreign Language (EFL) students, I have tried and tested many of these activities myself. They have always been met with anticipation and excitement by my students.
These activities promote various skills including language learning, critical thinking, problem solving, communication, teamwork, creative thinking, digital literacy, and many more.
Check out our for more activities and materials.
Whether you’re wrapping up a challenging academic year, or looking for a fresh take on end-of-year activities, this guide aims to inspire and equip you with practical ideas to finish the school year on a high note.
1. Creating a year in review videos
Creating a “Year in Review” video can be a wonderful way to encapsulate memories from the academic year and celebrate the collective journey of learning and growth. Here’s a simple step-by-step guide on how you can create a compelling “Year in Review” video:
- Collect Photos and Videos: Start by collecting photos and video clips from the school year. These can include classroom activities, field trips, special events, projects, or even candid moments of daily school life. Remember, the aim is to capture the essence of the year, highlighting both the academic and the fun aspects.
- Choose a Video Editing Software: There are several user-friendly video editing software options available, such as iMovie, Adobe Premiere Pro, or online platforms like and . Choose one that suits your comfort level and needs.
- Storyboard: Outline the structure of your video. It could be chronological, starting from the beginning of the school year, or thematic, with sections for different subjects or types of activities. The storyboard will help guide your video editing process.
- Edit: Upload your collected photos and videos to the chosen software and start arranging them according to your storyboard. Most software allows you to trim video clips, add transitions, and arrange photos into slideshows.
- Narration or Text: Consider adding or text slides to provide context to the images. This could be a summary of what the class learned or achieved during specific times of the year or during particular activities.
- Music: Adding a background score can make the video more engaging. Choose a song that’s upbeat and positive. Make sure to use royalty-free music or music that you have permission to use (see for sound effects and music to add to videos).
- Review and Edit: Watch the video multiple times and make necessary edits. Ensure the transitions are smooth, the text is readable, and the music syncs well with the images.
- Share: Once you’re satisfied with the video, export it in a format suitable for sharing. You could present it in class, share it with parents, or even post it on the school website, ensuring you have the necessary permissions.
Keep in mind that the “Year in Review” video is meant to be a celebration of all the hard work and fun times from the year, so keep it positive, uplifting, and inclusive of all students.
2. Organizing Student Showcase video projects
A “Student Showcase” is a fantastic way for students to exhibit their unique talents, hobbies, or newfound knowledge from the school year. Here’s a guide on how to organize a successful student showcase video project:
- Brainstorm: Initiate a brainstorming session in class, allowing students to come up with ideas for their videos. This can range from showcasing a talent (like dancing or magic tricks), a hobby (like painting or gardening), or an academic topic they particularly enjoyed.
- Plan: Once each student decides their showcase topic, help them outline their video. They should consider what they want to include in the video, the order of events, and any materials they might need. can help students come up with outlines and brainstorming ideas.
- Record: Students can then record their showcase videos. They might use a phone, a webcam, or a digital camera for this. Encourage them to be creative in their presentations – they could use props, costumes, or visual aids, and they should aim to clearly explain or demonstrate their topic ( ).
- Video Guidelines: Ensure that the video is of suitable length (3-5 minutes is usually enough) and appropriate for the classroom. This includes both the content and language used.
- Compile the Videos: Once all students have submitted their videos, compile them using video editing software. You could organize the videos by theme, by student age, or simply alphabetically.
- Viewing Party: Arrange a viewing party in the classroom where everyone’s video is shown. Make sure to provide positive feedback and praise each student’s hard work. If possible, prepare a projector and some popcorn to make it feel like a real movie event!
- Reflect: After all videos have been watched, have a class discussion or reflective session. Ask students about their experiences, what they learned from creating the video and from watching others’ presentations.
This activity not only provides students an opportunity to showcase their skills but also enhances their digital literacy and boosts their confidence. Plus, it offers a unique window for peers and teachers into what interests and inspires each student.
3. Taking students on virtual field trips
Virtual field trips are an exciting way to explore museums, zoos, or historical sites from the comfort of the classroom or home. They offer a unique, immersive learning experience without geographical limitations. Here’s how you can plan a successful virtual field trip:
- Choose the Destination: Depending on what you’re studying, choose a suitable destination for the virtual field trip. Many institutions like museums, zoos, or national parks offer virtual tours on their websites. Alternatively, you can find virtual tours or informative videos on YouTube, Google Earth, , or other online platforms.
- Preview the Tour: Before conducting the virtual field trip, preview the tour to ensure it is age-appropriate and aligns with your learning objectives. Check the duration of the tour and make sure the website or platform is reliable and works smoothly.
- Prepare the Students: Provide some background information about the destination and discuss why you’re virtually visiting it. You could assign some pre-visit activities such as researching the destination or discussing what they expect to see and learn.
- Guided Exploration: During the virtual tour, guide the exploration by pausing at significant points to discuss or ask questions. Encourage students to share their observations and thoughts.
- Interactive Elements: Many virtual tours come with interactive elements like clickable information points, quizzes, or games. Utilize these to make the virtual field trip more engaging.
- Post-Trip Activities: After the tour, engage the students in post-trip activities like a discussion, a quiz, or a creative assignment (like drawing something they saw or writing a review of the trip). This helps reinforce what they’ve learned during the trip.
- Tech Check: Ensure all the students have the required technology to participate in the virtual tour. This could be a computer with internet access, headphones, or a projector for a classroom setting.
4. Creating stop motion animations
Creating a stop motion animation can be a fantastic hands-on project for students, fostering their creativity and storytelling skills. Here’s how you can guide them through the process:
- Conceptualize: Have students brainstorm and outline their stop motion animation. They can choose to tell a short story, or visually represent a concept or topic they learned during the school year.
- Storyboard: Students should then sketch out a simple storyboard for their animation. This helps them plan out the sequence of movements and changes in their animation.
- Gather Materials: The beauty of stop motion animation is that you can use almost anything as your medium. This could be classroom objects, clay figures, or paper cut-outs. Students will also need a camera or a smartphone to capture images.
- Set the Stage: Help students set up their “stage”. This could be a cleared desk, a piece of poster board, or any flat surface. Ensure the stage is in a location with good lighting, or provide additional light sources if necessary.
- Take Photos: Using their storyboard as a guide, students should move their objects little by little, taking a photo after each movement. The more photos they take, the smoother the final animation will be.
- Use a Stop Motion App or Software: There are numerous free available (like Stop Motion Studio) which can be used to upload and compile the photos into a video. Most of these apps are user-friendly and allow students to adjust the speed of their animation.
- Add Sound: If the app allows, students can , narration, or background music to their video. This enhances the storytelling aspect of the animation.
- Present the Animations: Once the animations are complete, hold a viewing party in the classroom for students to present their work. Discuss each project, focusing on the story or concept it presents and the creativity involved.
5. Creating classroom documentaries
Creating a classroom documentary can be a meaningful project that allows students to reflect on their experiences throughout the school year, fostering collaborative and technical skills. Here’s a step-by-step guide on how you can organize this project:
- Brainstorming: Begin by brainstorming with your students. Discuss what themes they would like to explore in the documentary – it could focus on academic achievements, memorable events, personal growth, or even the challenges they’ve faced.
- Planning: Help students create a plan for their documentary. What are the key moments they want to feature? Who will they interview? What footage do they need to capture?
- Assign Roles: Divide tasks among students according to their interests and strengths. Some may want to act as interviewers, others may want to handle the camera or editing, while some may prefer to narrate or create a soundtrack.
- Filming: Students can film interviews with their peers, capture footage of the school or classroom, and even use photos or video clips from throughout the year. Encourage them to be creative in their approach.
- Editing: Using , students can put together their footage to tell a cohesive story. They can add voiceovers, music, titles, and transitions to enhance their documentary.
- Screening: Organize a viewing party for the final product. Invite other classes, school staff, or even the students’ families to celebrate their hard work and share their experiences of the school year.
- Discussion: After the screening, have a group discussion or reflection about the process. What did they learn from making the documentary? How did it make them feel about the year that’s passed?
- Share: With proper permission, you can share the documentary on the school’s website or social media platforms, creating a lasting digital memento of the school year.
6. Creating public speaking videos
Creating public speaking videos is an excellent way to encourage students to express their thoughts confidently and coherently while enhancing their presentation skills. Here’s how you can guide your students through this activity:
- Choose a Topic: Allow students to choose a topic they’re passionate about or something significant they learned during the year. The topic should be engaging and meaningful to them, which will make the process more enjoyable and the final speech more heartfelt.
- Research and Preparation: Students should research their chosen topic, gather their thoughts, and organize them in a logical manner. Encourage them to create an outline of their speech to ensure they cover all the key points.
- Speech Writing: Guide your students in writing their speeches. A good speech should have an engaging introduction, a body with main points and supporting details, and a compelling conclusion. Students can use these to help with speech writing.
- Practice: Before recording, students should practice their speech several times. This will help them deliver their speech more naturally and confidently, and it will also help them with timing and pacing.
- Record: Students can use a smartphone, webcam, or digital camera to record their speeches. Remind them to speak clearly and slowly, maintain eye contact with the camera, and show enthusiasm for their topic.
- Review and Reflect: After recording, students should watch their speeches and reflect on their performance. What did they do well? What could they improve?
- Share and Discuss: If the students are comfortable, you can organize a viewing session where everyone’s speeches are shown. This not only promotes listening skills but also encourages supportive feedback among peers.
- Positive Feedback: After each speech, highlight the positives and give constructive criticism. This could be about content, delivery, body language, or any other aspect of public speaking. Check out these for more options.
7. Creating book trailers
Creating a book trailer can be an engaging activity that encourages students to think creatively about literature and develop their storytelling skills. Here’s a step-by-step guide on how to guide your students in this project:
- Choose a Book: Start by having your students they loved reading during the year. It could be a class novel, a book from a reading list, or an independently chosen title.
- Understand the Book: Ensure the students have a good understanding of the book’s plot, characters, setting, and themes. They should know the book well enough to determine which aspects would make for a compelling trailer.
- Plan the Trailer: Students should write a brief outline or storyboard for their trailer. What scenes will they show? What text or narration will they include? What music might fit the tone of the book?
- Assign Roles: Divide responsibilities based on students’ interests and strengths. Some may want to act, others may handle the camera or editing, while some may want to work on the script or soundtrack.
- Create the Trailer: Students can use a camera or smartphone to record their scenes. They can also use images, animations, or clips from the internet (ensuring they respect copyright rules). Encourage them to be creative and capture the essence and intrigue of the book without giving too much away.
- Edit the Trailer: Students can use video editing software to assemble their footage, add text or voiceovers, and include sound effects or music. The trailer should be concise, typically around one to two minutes.
- Share the Trailers: Organize a “film festival” where you showcase all the book trailers. This can be a fun event where students can appreciate each other’s work and maybe discover new books they’d like to read.
- Discuss and Reflect: After viewing all the trailers, have a class discussion. What did they learn from the activity? How does creating a trailer give them a new perspective on the book?
And there you have it, ten vibrant and engaging video activities to bring a close to your school year. These activities not only serve as a creative outlet but also encompass skills such as collaboration, critical thinking, public speaking, and tech-savviness, thus allowing students to express their learning in a fun and meaningful way.
Remember, the goal isn’t just to fill time until the last bell rings; it’s to create lasting memories and celebrate the journey of learning and growth that’s taken place throughout the year. We hope these video projects serve as both a valuable learning tool and a treasured keepsake from this school year.
The post appeared first on .